How to Brew Potent Potions Perfectly Every Time in Brighter Shores
Updated on December 14th, 2024
Brewing potent potions in Brighter Shores is a rewarding but intricate process, offering significant benefits to dedicated alchemists. Unlike standard potion crafting, which is more straightforward, brewing potent potions requires careful management of specialized equipment. Mastery of the Potent Potion Station can lead to higher XP gains, increased knowledge points, and greater profitability. However, without a solid understanding of the mechanics, even experienced alchemists can find themselves producing lower-quality potions or failing entirely.
This guide is designed to help you navigate the complexities of brewing potent potions with ease and efficiency. Whether you're striving to level up your alchemy skills, maximize your hourly potion output, or simply avoid costly mistakes, you'll find everything you need here. By following these step-by-step instructions, you'll learn how to operate the Potent Potion Station, manage its components effectively, and optimize your brewing process to ensure consistent success.
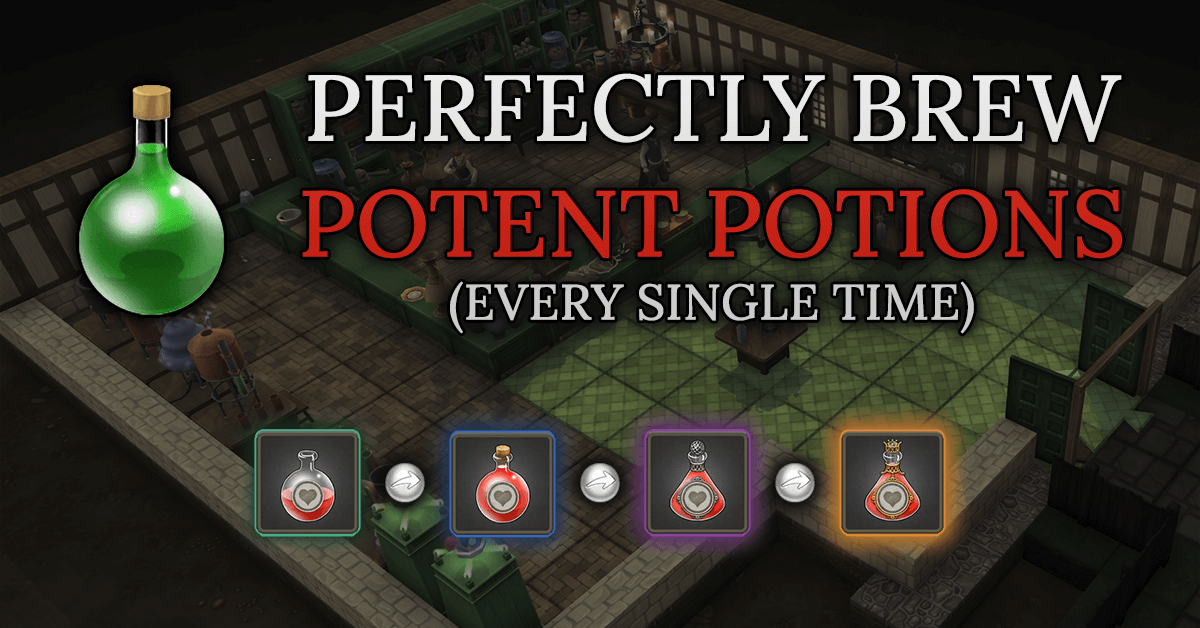
How to Brew Potent Potions Perfectly Every Time
Brewing potent potions perfectly every time in Brighter Shores requires more than just using the right equipment—it's about precision, timing, and mastery of the process. The Potent Potion Station is simply a tool; your success depends on how well you manage the brewing cycle. With the right techniques, you can ensure every potion you produce is potent, flawless, and highly profitable.
The Core Elements of Perfect Potent Potions
-
Ingredient Placement:
Start by loading your ingredients into the station's hopper. You'll typically add three components, but for maximum efficiency, you can include a fourth by clicking the hopper again. Ensure you load all ingredients promptly to keep the process smooth and uninterrupted. -
Heat Regulation:
Adjusting the heat valve correctly is essential to maintaining a steady brewing pace. Too much heat can trigger noisy warnings and risk overheating, while too little slows the process and creates unnecessary delays. The perfect balance ensures consistent progress and prevents interruptions. -
Pressure Control:
High pressure can cause your brewing process to fail, resulting in wasted materials and lost XP. Always release pressure before it becomes critical. Listen for the station's cues—when you hear the first warning ding, it's time to act. Proper pressure management guarantees that your potion reaches its full potential. -
Flawless Timing:
The most important skill in brewing potent potions is timing your actions. Watch the progress indicator closely and aim to collect your potion as soon as it finishes. A perfectly timed brew will have the first warning ding sound, while the second warning is barely audible before it cuts off—a clear sign you've done it right.
Why Precision Matters
Potent potions take longer to brew than standard ones, and errors can significantly reduce your efficiency. If the process fails, you'll end up with a weaker potion and lose the XP and knowledge points that come with a successful brew. By mastering ingredient placement, heat regulation, pressure control, and timing, you'll consistently produce the perfect potent potions.
In the next section, we'll cover how to prepare for brewing, ensuring you're ready to achieve flawless results every time.
Preparing to Brew Potent Potions
The secret to brewing potent potions perfectly every time begins with proper preparation. By setting up your materials and workspace efficiently, you can minimize delays, avoid mistakes, and maintain a steady rhythm throughout the process. Here's how to get ready for a flawless brewing session.
Gathering Your Materials
To craft potent potions, you'll need the following:
- Potion Ingredients: Collect the specific ingredients required for your desired potion type. Double-check quantities to avoid interruptions mid-session.
- Empty Bottles: Ensure you have enough bottles to match your planned output. Each potion requires one bottle, so stock up accordingly.
- Optional Extra Ingredient: If you plan to use the fourth ingredient slot for enhanced potency, have it ready.
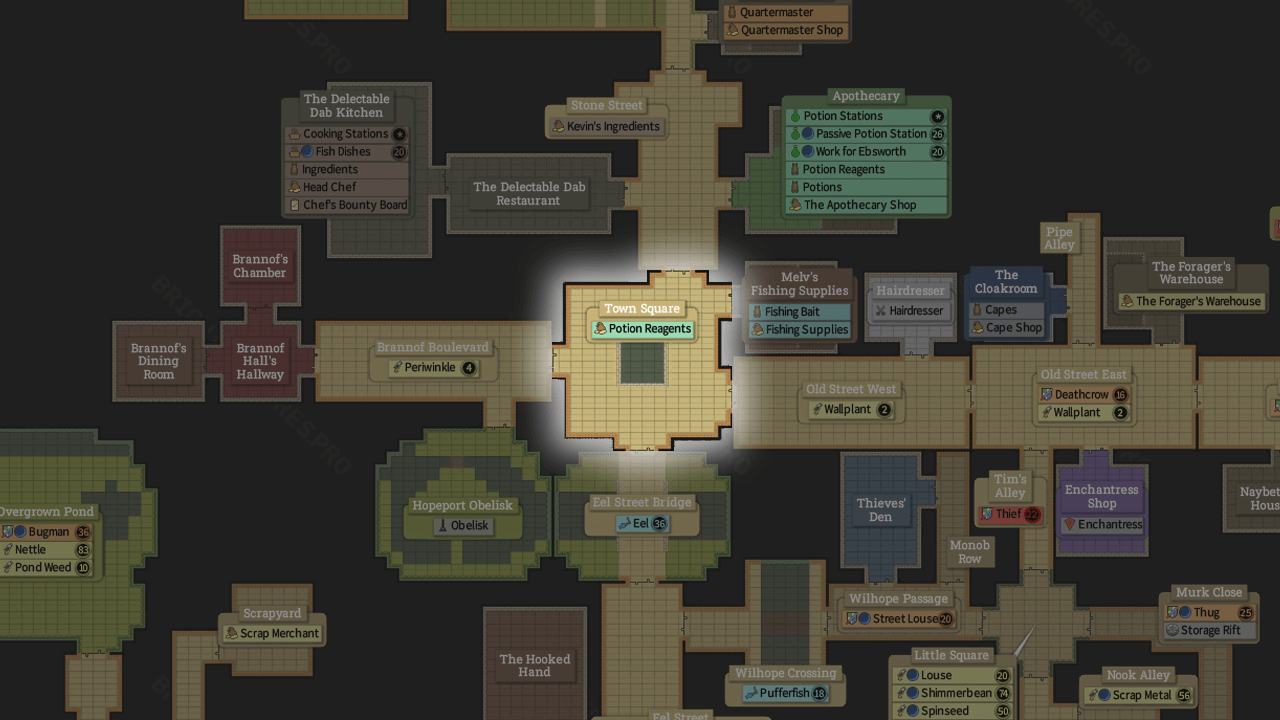
All materials can typically be purchased from the Potion Reagents Shop or harvested if you have the required profession levels.
Arranging Your Workspace
A well-organized workspace saves valuable time and keeps your brewing process seamless:
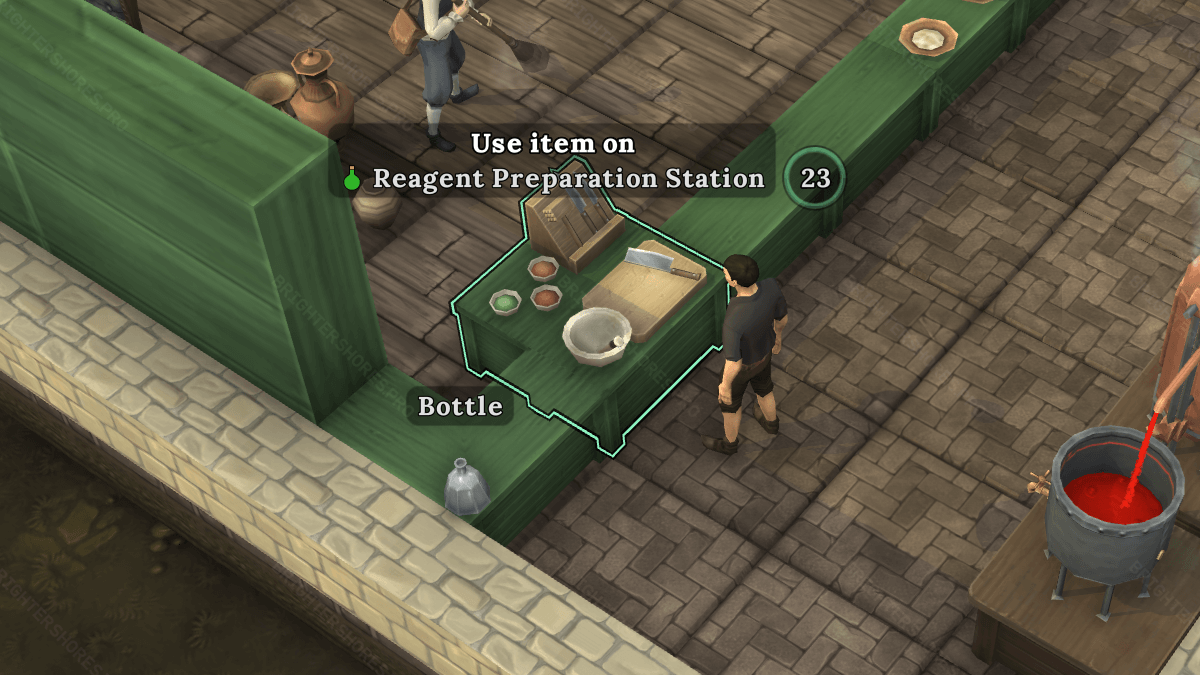
- Place all ingredients and bottles within easy reach of the Potent Potion Station.
- Familiarize yourself with the station's controls, including the ingredient hopper, heat valve, pressure release mechanism, and progress indicator.
- Clear unnecessary items from your inventory to maximize space for completed potions.
Strategic Planning for Efficiency
Potent potions take longer to brew than standard ones, so careful planning is essential to maximize your productivity:
- Batch Size: Determine how many potions you'll brew in a single session. Aiming for an inventory-sized batch (12 potions) is a good starting point.
- Downtime Management: Use any downtime (e.g., while the potion is brewing) to prepare additional ingredients or bottles for the next batch.
Tips for Success Before Starting
- Release Pressure: If the station's pressure level is high from a previous session, release it before adding ingredients. Starting with high pressure can lead to an immediate failure.
- Check the Heat: Make sure the heat valve is at a low setting before beginning. This avoids unnecessary warnings and gives you full control as the process starts.
- Test Your Rhythm: For beginners, practice timing your actions—adding ingredients, adjusting the heat, and releasing pressure—until it feels natural.
By taking the time to prepare thoroughly, you'll set yourself up for a successful brewing session where every potion meets its full potential. Next, we'll dive into the step-by-step process of crafting the perfect potent potion.
Step-by-Step Guide to Crafting Potent Potions
Brewing potent potions perfectly every time requires a careful, step-by-step approach. By following this guide, you'll avoid mistakes, maintain efficiency, and ensure your potions are brewed to perfection.
Step 1: Add Your Ingredients
- Load the Ingredients: Open the ingredient hopper and add the required components for your chosen potion.
- Begin with three ingredients, ensuring they are added quickly and without interruption.
- To include a fourth ingredient for enhanced potency, click the hopper again and add the final component.
- Check the Hopper: Ensure all ingredients are properly loaded before proceeding. A missed ingredient can disrupt the process.
Step 2: Monitor the Brewing Process
- Watch the Progress Indicator: As soon as the brewing starts, the indicator will show your potion's progress. Pay close attention to avoid missing critical adjustments.
- Heat Management: Turn the heat valve to a medium setting to maintain steady progress. Avoid overheating—high heat can cause a buildup of pressure, triggering warnings.
- Pro Tip: If snowflake particles appear, it means the heat is too low and needs to be increased.
Step 3: Manage the Pressure
Proper pressure management is essential to prevent brewing failures and keep your process running smoothly. Follow these steps for perfect timing:
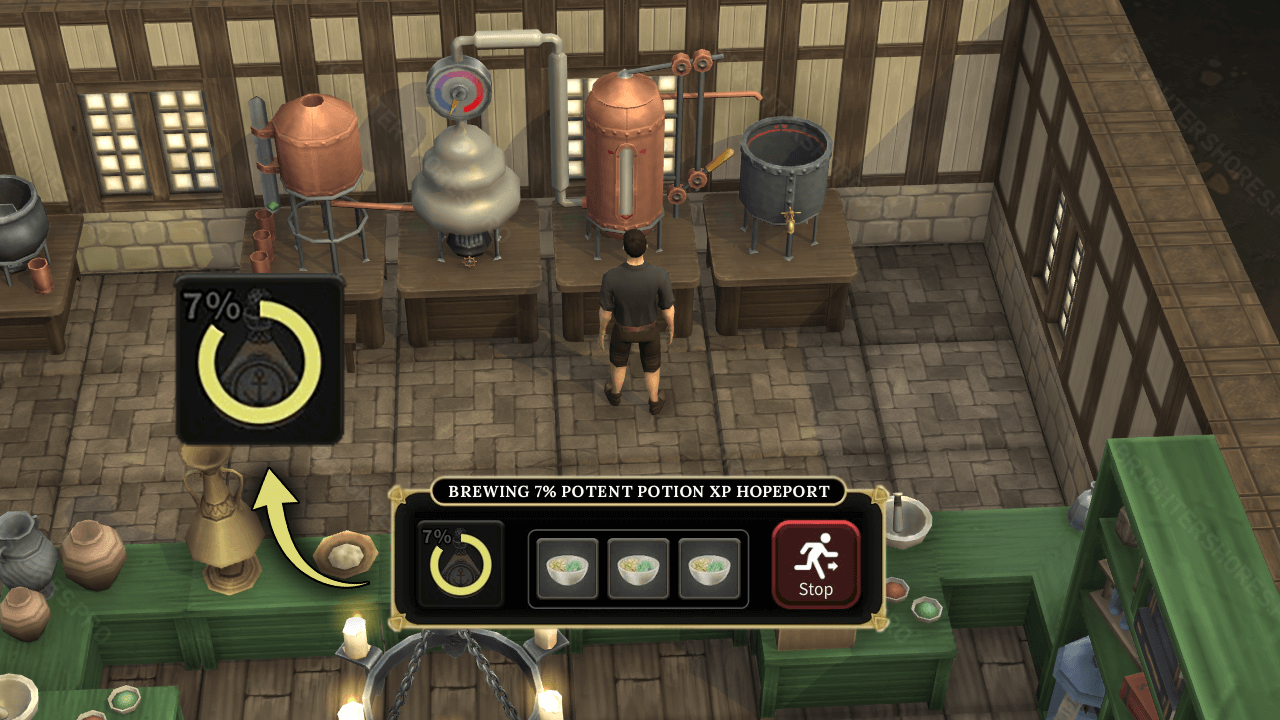
- Watch the Progress Timer: Keep an eye on the progress circle as the brewing advances.
- Release Pressure at the Right Moment:
- When the progress timer is around 85% filled (see image below for reference), begin releasing the pressure.
- This typically happens right as the first warning ding starts. By the time you release the pressure, the second ding will be halfway through.
This precise timing ensures the pressure stabilizes at the perfect point, keeping the brewing process steady and preventing potion failure.
Step 4: Perfect Your Timing
Timing isn't just for pressure release—it's also key to finishing the brew flawlessly:
- Turn Down the Heat: As the progress indicator nears completion, lower the heat valve to avoid unnecessary pressure buildup.
- Collect Your Potion: Gather your completed potion as soon as it's ready.
- Pro Tip: Perfect timing is indicated when you hear one warning ding and the second ding cuts off shortly after it begins.
Step 5: Reset and Repeat
- Release Pressure: Before starting your next potion, release any remaining pressure from the station. Skipping this step can lead to immediate brewing issues.
- Prepare for the Next Batch: Add fresh ingredients and bottles, then begin the process again.
By carefully following these steps, you can ensure that every potion you brew is a success. With practice, you'll be able to maintain a consistent rhythm, maximizing your productivity and minimizing errors.
Next, we'll cover common mistakes and how to avoid them, so you can refine your skills even further.
Common Mistakes and How to Avoid Them
Even with a solid understanding of the process, brewing potent potions can go wrong if you're not careful. By recognizing these common pitfalls and knowing how to address them, you can ensure flawless results every time.
Mistake 1: Overlooking Pressure Management
- What Happens: If pressure builds too high, the station will fail to produce a potent potion. Instead, you'll receive a weaker standard potion, losing XP and wasting ingredients.
- How to Avoid It:
- Listen for the first warning ding and release pressure immediately.
- Never ignore yellow warnings, as they signal that pressure is nearing critical levels.
Mistake 2: Poor Heat Control
- What Happens: Heat that's too high can cause pressure to spike, while heat that's too low slows down the brewing process, creating inefficiencies.
- How to Avoid It:
- Start with low heat and gradually increase to medium for optimal brewing speed.
- Watch for visual cues like snowflake particles, which indicate that the heat is too low.
- Always lower the heat as the potion nears completion to avoid unnecessary pressure buildup.
Mistake 3: Delayed Ingredient Placement
- What Happens: Adding ingredients too slowly or forgetting one entirely can disrupt the brewing process, leading to failure.
- How to Avoid It:
- Double-check that all ingredients are ready before starting.
- Add all components in quick succession to keep the process on track.
Mistake 4: Ignoring Progress Indicators
- What Happens: Failing to act based on the progress indicator's warnings can lead to errors or missed timing.
- How to Avoid It:
- Stay focused on the progress bar and respond to changes immediately.
- Collect your potion as soon as the brewing process finishes, aiming for the perfect timing where the second warning ding cuts off.
Mistake 5: Skipping the Pressure Reset
- What Happens: Starting a new brew without releasing leftover pressure can cause an immediate failure.
- How to Avoid It:
- Always release pressure after collecting your potion. Make it part of your brewing routine to prevent mishaps.
Mistake 6: Forgetting Brewing Etiquette
- What Happens: In shared spaces, leaving the heat too high or failing to release pressure can annoy other players.
- How to Avoid It:
- Lower the heat to a minimal level when you're done brewing to prevent unnecessary noise.
- Always clean up and leave the station ready for the next user.
By being aware of these common mistakes and actively working to avoid them, you'll refine your brewing process and consistently produce perfect potent potions. Up next, we'll discuss advanced strategies for optimizing your brewing for maximum XP and profit.
Advanced Brewing Strategies for Maximum Efficiency
Once you've mastered the basics of brewing potent potions, it's time to elevate your craft. Advanced strategies focus on optimizing your time, resources, and techniques to maximize XP gains, profitability, and overall productivity. Here are the best tips to take your brewing to the next level.
1. Optimize Your Potion Output
Potent potions take longer to brew than standard ones, so efficiency is critical.
- Batch Planning: Aim to brew in full inventory-sized batches (12 potions). This minimizes trips to restock materials and allows for smoother workflow.
- Time Management: Use the 25-38 seconds required for each brew to prepare bottles, release pressure, or restock nearby stations. Staying active ensures you're ready to start the next batch without delay.
2. Prioritize XP and Knowledge Gains
- XP Focus: Potent potions yield significantly more XP compared to standard potions. Prioritize brewing these for faster progression, especially at higher levels.
- Knowledge Gains: Potent potions award 3% knowledge per potion, compared to 1.4% for standard potions. Over an hour, brewing potent potions earns slightly more knowledge points (3.24) than standard ones (3.18), making it worth the extra effort.
3. Resource Management for Maximum Profit
The profitability of potent potions depends on minimizing wasted materials and maximizing output.
- Ingredient Sourcing: Whenever possible, gather ingredients instead of buying them from the Potion Reagents Shop. This increases your profit margins significantly.
- Sell Smart: Always sell your completed potions to the Apothecary Shop, as it provides the best return on your investment.
4. Master Timing for Flawless Brews
Advanced alchemists achieve their efficiency through perfect timing.
- Heat Valve Mastery: Adjust the heat to medium during the brewing process and lower it as the progress indicator nears completion. This minimizes pressure buildup at critical stages.
- Perfect Collection Timing: Collect your potion just as the second warning ding begins to cut off. This ensures your potion is brewed perfectly, avoiding any wasted time or resources.
5. Maintain a Steady Rhythm
Efficiency comes from finding and maintaining a steady workflow.
- Follow the Brewing Line: Many alchemists set up multiple brewing stations in a line. While one potion brews, they prepare another station, creating a continuous cycle of brewing, collecting, and resetting.
- Minimize Distractions: Stay focused during your session, as a single missed cue can disrupt your rhythm and waste precious time.
6. Respect Brewing Etiquette
Advanced brewing often takes place in shared spaces, so practicing good etiquette ensures a smoother experience for everyone.
- Keep Heat Low When Not in Use: High heat levels create loud noises that can disrupt others. Turn the heat down when leaving the station.
- Release Pressure Before You Go: Always reset the station by releasing pressure, making it ready for the next user.
By applying these advanced strategies, you can maximize your brewing efficiency and ensure that every session is productive and profitable. As your skills improve, you'll become a master alchemist capable of consistently producing the best potions in Brighter Shores.
Next, we'll address frequently asked questions to clarify any remaining doubts about brewing potent potions.
FAQs About Brewing Potent Potions
Even with a detailed guide, some questions often arise when perfecting the art of brewing potent potions in Brighter Shores. Below, we address the most common inquiries to help you refine your craft.
1. What happens if I miss a step during the brewing process?
If a step is missed—like releasing pressure or collecting the potion on time—the process may fail. In such cases, the station will produce a weaker standard potion instead of a potent one. This results in no XP, reduced profitability, and wasted materials. The key to avoiding this is staying attentive to the progress indicator and responding to warnings promptly.
2. Can I salvage a failed brew?
Unfortunately, once the station produces a standard potion due to an error, it cannot be reversed. The best way to minimize the impact of a failed brew is to review what went wrong—whether it was pressure, heat, or timing—and adjust your process for future attempts.
3. What makes potent potions different from standard potions?
Potent potions are stronger versions of standard potions and require more careful management to create. While they take longer to brew, they award higher XP, more knowledge points, and greater profitability, making them essential for alchemists looking to advance quickly.
4. How can I tell if my brewing timing is perfect?
Perfect timing is indicated when:
- The first warning ding sounds as you prepare to collect the potion.
- The second warning ding begins but is cut off shortly after starting.
This precise timing ensures the potion is brewed perfectly and awards the full benefits.
5. Is it worth using a fourth ingredient?
Adding a fourth ingredient increases the potency of your potion, making it more valuable. However, it also requires greater precision and a deeper understanding of the brewing process. If you're confident in your timing and station management, the extra ingredient is well worth the effort.
6. How do I optimize my workflow with multiple stations?
When working with multiple Potent Potion Stations, the key is to create a continuous cycle:
- Start brewing at the first station, then move to prepare ingredients or release pressure at the second.
- By the time you finish with the last station, the first should be ready for collection.
This rhythm ensures maximum efficiency and keeps all stations in use.
7. What should I do if the station overheats or pressure builds too quickly?
If heat or pressure becomes unmanageable:
- Immediately lower the heat valve to stabilize the process.
- Release pressure as soon as the station issues a warning ding.
Acting quickly in these situations prevents brewing failures and saves your materials.
8. Can I improve my efficiency if I'm just starting out?
Yes! Begin by focusing on the basics:
- Perfecting your timing for ingredient placement, heat adjustments, and pressure release.
- Practicing with smaller batches to build confidence before scaling up to full sessions.
With time, you'll develop the muscle memory and rhythm needed for consistent success.
By addressing these common questions, you'll be better equipped to handle challenges and refine your brewing process. In the final section, we'll recap key tips and encourage you to continue honing your skills as an alchemist in Brighter Shores.
Conclusion
Brewing potent potions in Brighter Shores is as rewarding as it is challenging. By mastering the essential steps—precise ingredient placement, heat control, pressure management, and timing—you can produce flawless potions every time. With each successful brew, you'll gain valuable XP, knowledge points, and profitability, advancing your skills as an alchemist while maximizing your efficiency.
Success in brewing comes down to practice and attention to detail. Start with smaller batches to build confidence, and gradually implement advanced strategies like optimizing workflows and leveraging the fourth ingredient. Remember, even the best alchemists learn from occasional missteps, so don't be discouraged by failures. Use them as opportunities to refine your techniques.
With this guide as your roadmap, you're ready to tackle the Potent Potion Station and produce potions that stand out in both power and precision. Happy brewing, and may your alchemy journey in Brighter Shores be filled with success and mastery!
You Might Also Like
Recent News
 Fen Research & Brighter Shores: Andrew Gower's Final Joke
 Herbalist's Hurdle Quest Launch
 Weekly Leek #2
 Weekly Leek #1
 Brighter Shores Easter Event (2025) - All 128 Hidden Egg Locations
 2nd April 2025 - Easter Event
 Teloril Breaks Down the Online Safety Act and Its Impact
 Easter Event, Team Expansion, and Upcoming Game Updates
